Tag: SketchUp

Outhouse 2.0

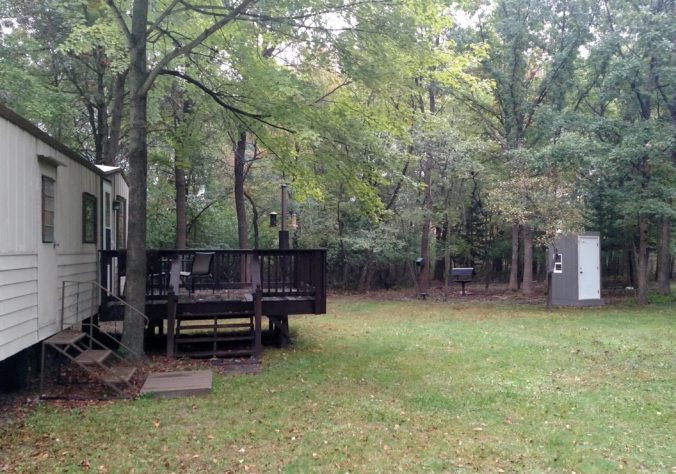
Now that the deck and the keep have both been refinished, the outhouse has been looking even worse than usual by comparison. The door sticks and sometimes won’t even close. The seat’s at an uncomfortable height and depth. It’s covered in cobwebs and open to all manner of critters. And the aging wood has been absorbing unspeakable horrors for the better part of four decades. It needs to go. While not the most glamorous project, it’s hard to argue against the importance and necessity of an outhouse, so some real thought needs to go into its replacement.

Like many projects up here, this one started in SketchUp. I designed a simple four-foot square plywood platform that stands on joists made from the leftover treated 2×8 lumber from the deck. The framing would be done with 2×4 studs, I’d install two windows that I had found in the pole barn, and the whole thing would be panelled with the pine plywood siding that was stacked under the big house trailer. I still needed a roof and a door. My hope was that I could reuse the roof from the old outhouse, so I just had to track down a suitable door. I turned to craigslist and was in luck; I found an outswing, exterior, prehung door for only $40. It was 36″ wide, which is a bit much for this little building, but it was hard to argue with the price.
Continue reading

Trailer Deck Part 3: Final Assembly

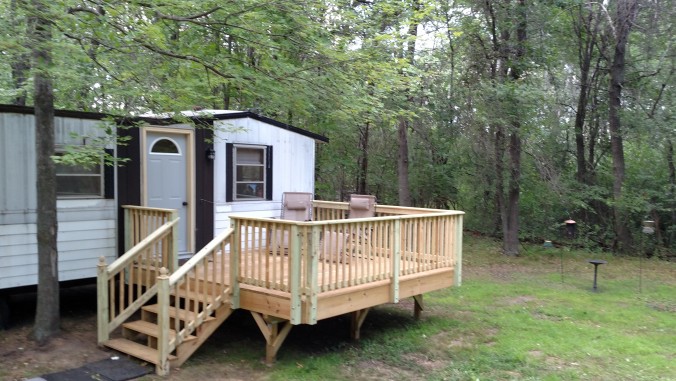
I’ve been feeling pretty motivated by how quickly the railing went up and was anxious to finish the deck. I had originally planned on using my miter saw and drill press to prep each spindle, but I opted to cut them in groups by section instead. With over 70 spindles total, this saved me quite a bit of time with roughly the same results.

I installed the main platform spindles in three groups, one for each side. I planned the spacing so that I’d only need a 2×4 to help me line them up: 1 1/2″ offset from the center posts of each run, and 3 1/2″ apart. I saved any spindles with warpage until the end of the runs. This made for a very even look, overall.

I had to dig to anchor the lower deck posts to the stair risers. I’m glad I buried the bottom of the risers rather than cut them down, otherwise I wouldn’t be able to secure the posts properly. This involved more root trimming with my sawzall for the left post, which was slow, sweaty work.

Continue reading

Trailer Deck Part 2: The Railing

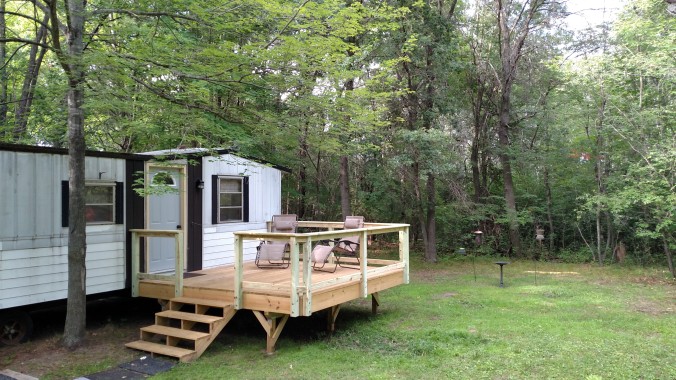
Even in its incomplete state, the deck has become a welcome addition to the property. But there’s still plenty of work to be done on it; it’s hard to relax in one of the lounge chairs when you don’t know if you’re going to pitch backwards off the platform. It’s time to tackle the railing.

Once again, SketchUp was instrumental in planning and visualizing this project. Among other things, it helped me decide how to finish the rail cap corners. Joining them at a 45 degree angle is difficult to get right and invites later warping. Instead, I had them meet at right angles, but with notches cut in the long board where the corners meet. It’s a simple, clean look and compliments the two small 45 degree corner rail sections. All of the posts are attached from outside of the deck platform. This way, none of the square footage of the platform is lost by adding the rails and none of the planking needs to be cut to accommodate the posts. It’s also easier to clean up and would disassemble relatively easy should we ever need to move the deck.

Continue reading

Trailer Deck Part 1: The Platform

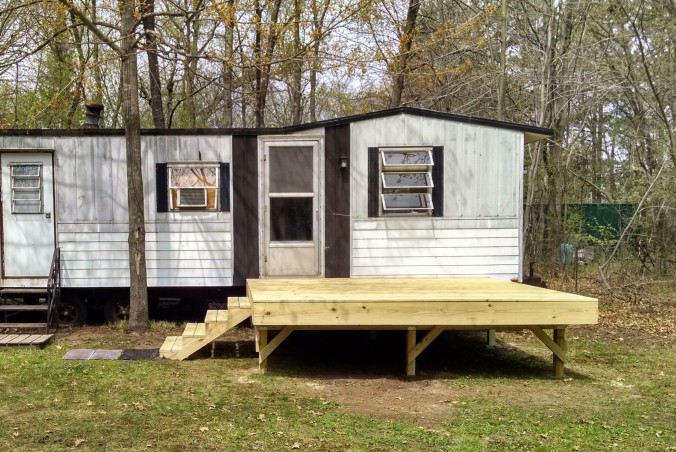
The PMC Clubhouse had an accessibility problem. The back door opened three feet above the ground and the front entrance had a precariously balanced set of steel stairs and some very uneven terrain right outside. Tracking in dirt and sand has always been a problem, and we never really hung out outside much since there wasn’t much to the yard. It was time for a deck.

Using a tape measure and scratching into the ground with my shoe, I felt out various possible sizes. I settled on 12′ square since it provided ample space while keeping my shopping list and design needs simple.

Trimble SketchUp (previously Google SketchUp) is instrumental in planning any kind of building project. I scoured the internet for deck building tips and methods and got to work drawing the deck frame. SketchUp gives you the liberty to work out your mistakes before you ever cut or even buy a single board. I was able to tweak my design so I could use 2x8s for most of the joists and for the beams, only using 2x10s for the outside border. This saved a decent amount of money. I designed some 45-degree 2×4 cross-braces that required me to tweak the location of the corner posts. It all worked out perfectly and the notching and angle cut on the beams add a nice look to the final product. I also wanted a wider set of stairs come out the side rather than the front. This gives us more room to get by with the trucks and ATVs and helps define the little “yard” area in front of the trailer. The metal stairs get reused for the back door.

Continue reading

© 2025 Puckaway Motor Club

Theme by Anders NorenUp ↑