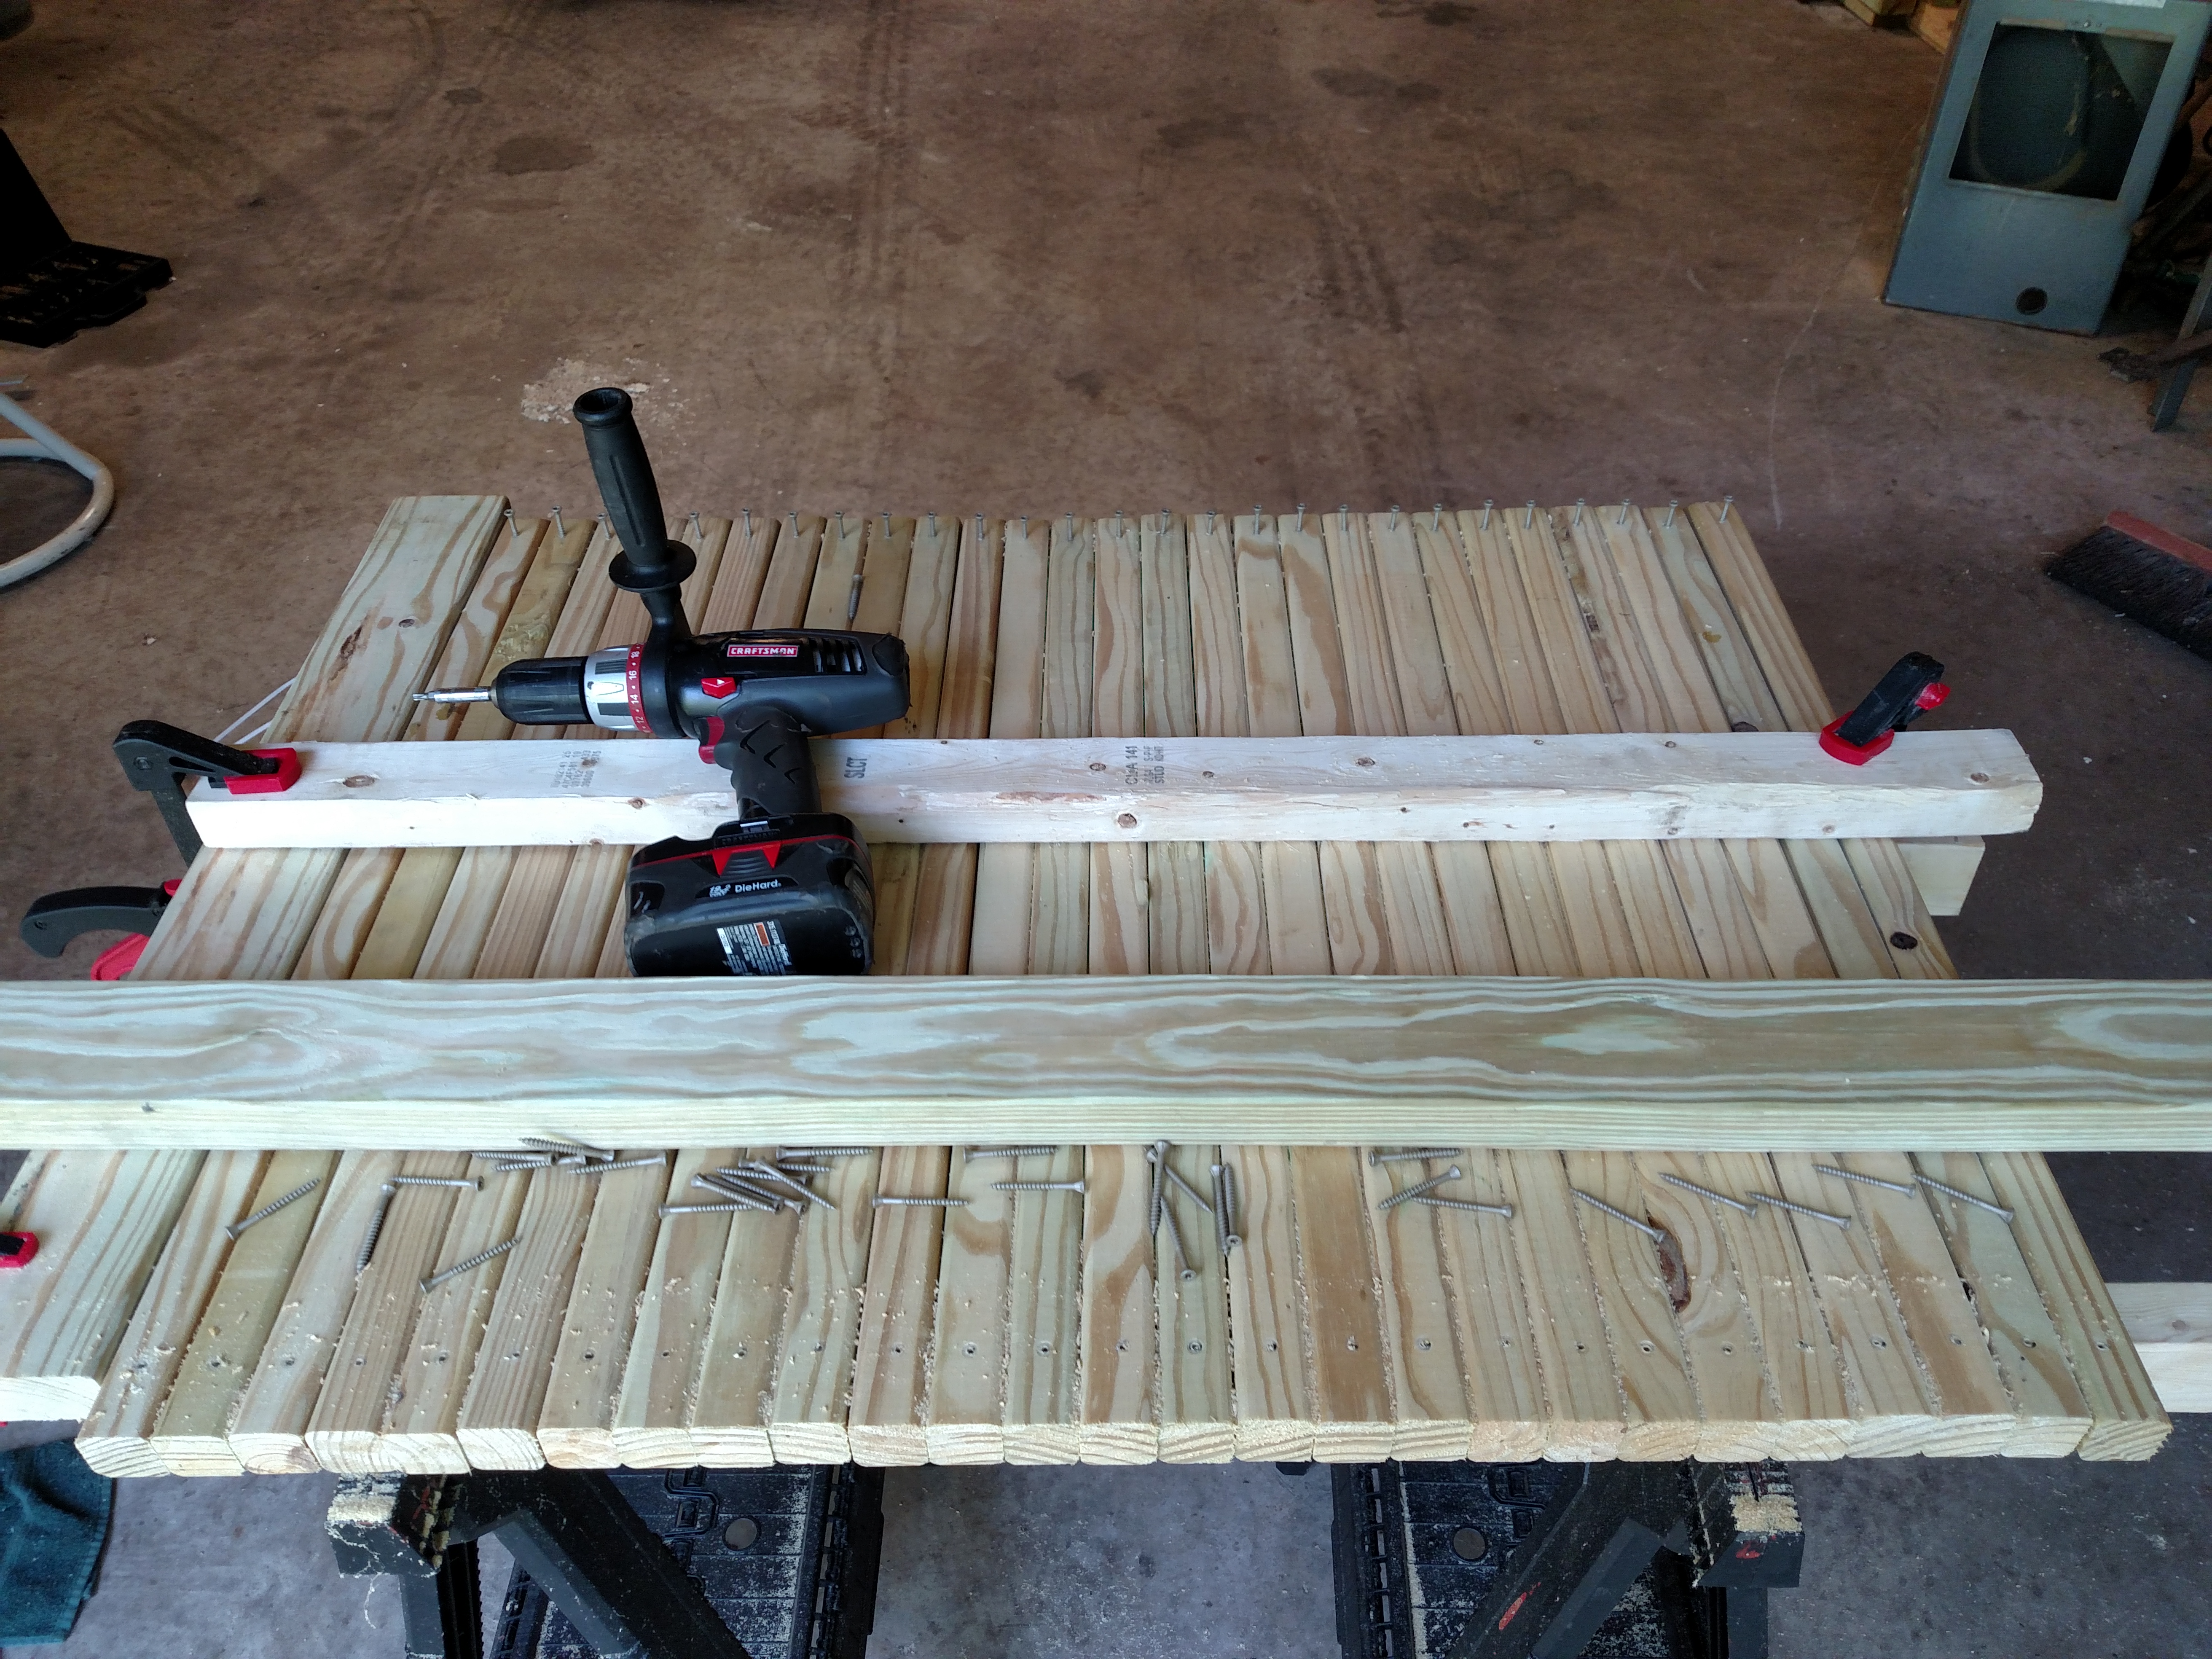
I’ve been feeling pretty motivated by how quickly the railing went up and was anxious to finish the deck. I had originally planned on using my miter saw and drill press to prep each spindle, but I opted to cut them in groups by section instead. With over 70 spindles total, this saved me quite a bit of time with roughly the same results.
I installed the main platform spindles in three groups, one for each side. I planned the spacing so that I’d only need a 2×4 to help me line them up: 1 1/2″ offset from the center posts of each run, and 3 1/2″ apart. I saved any spindles with warpage until the end of the runs. This made for a very even look, overall.
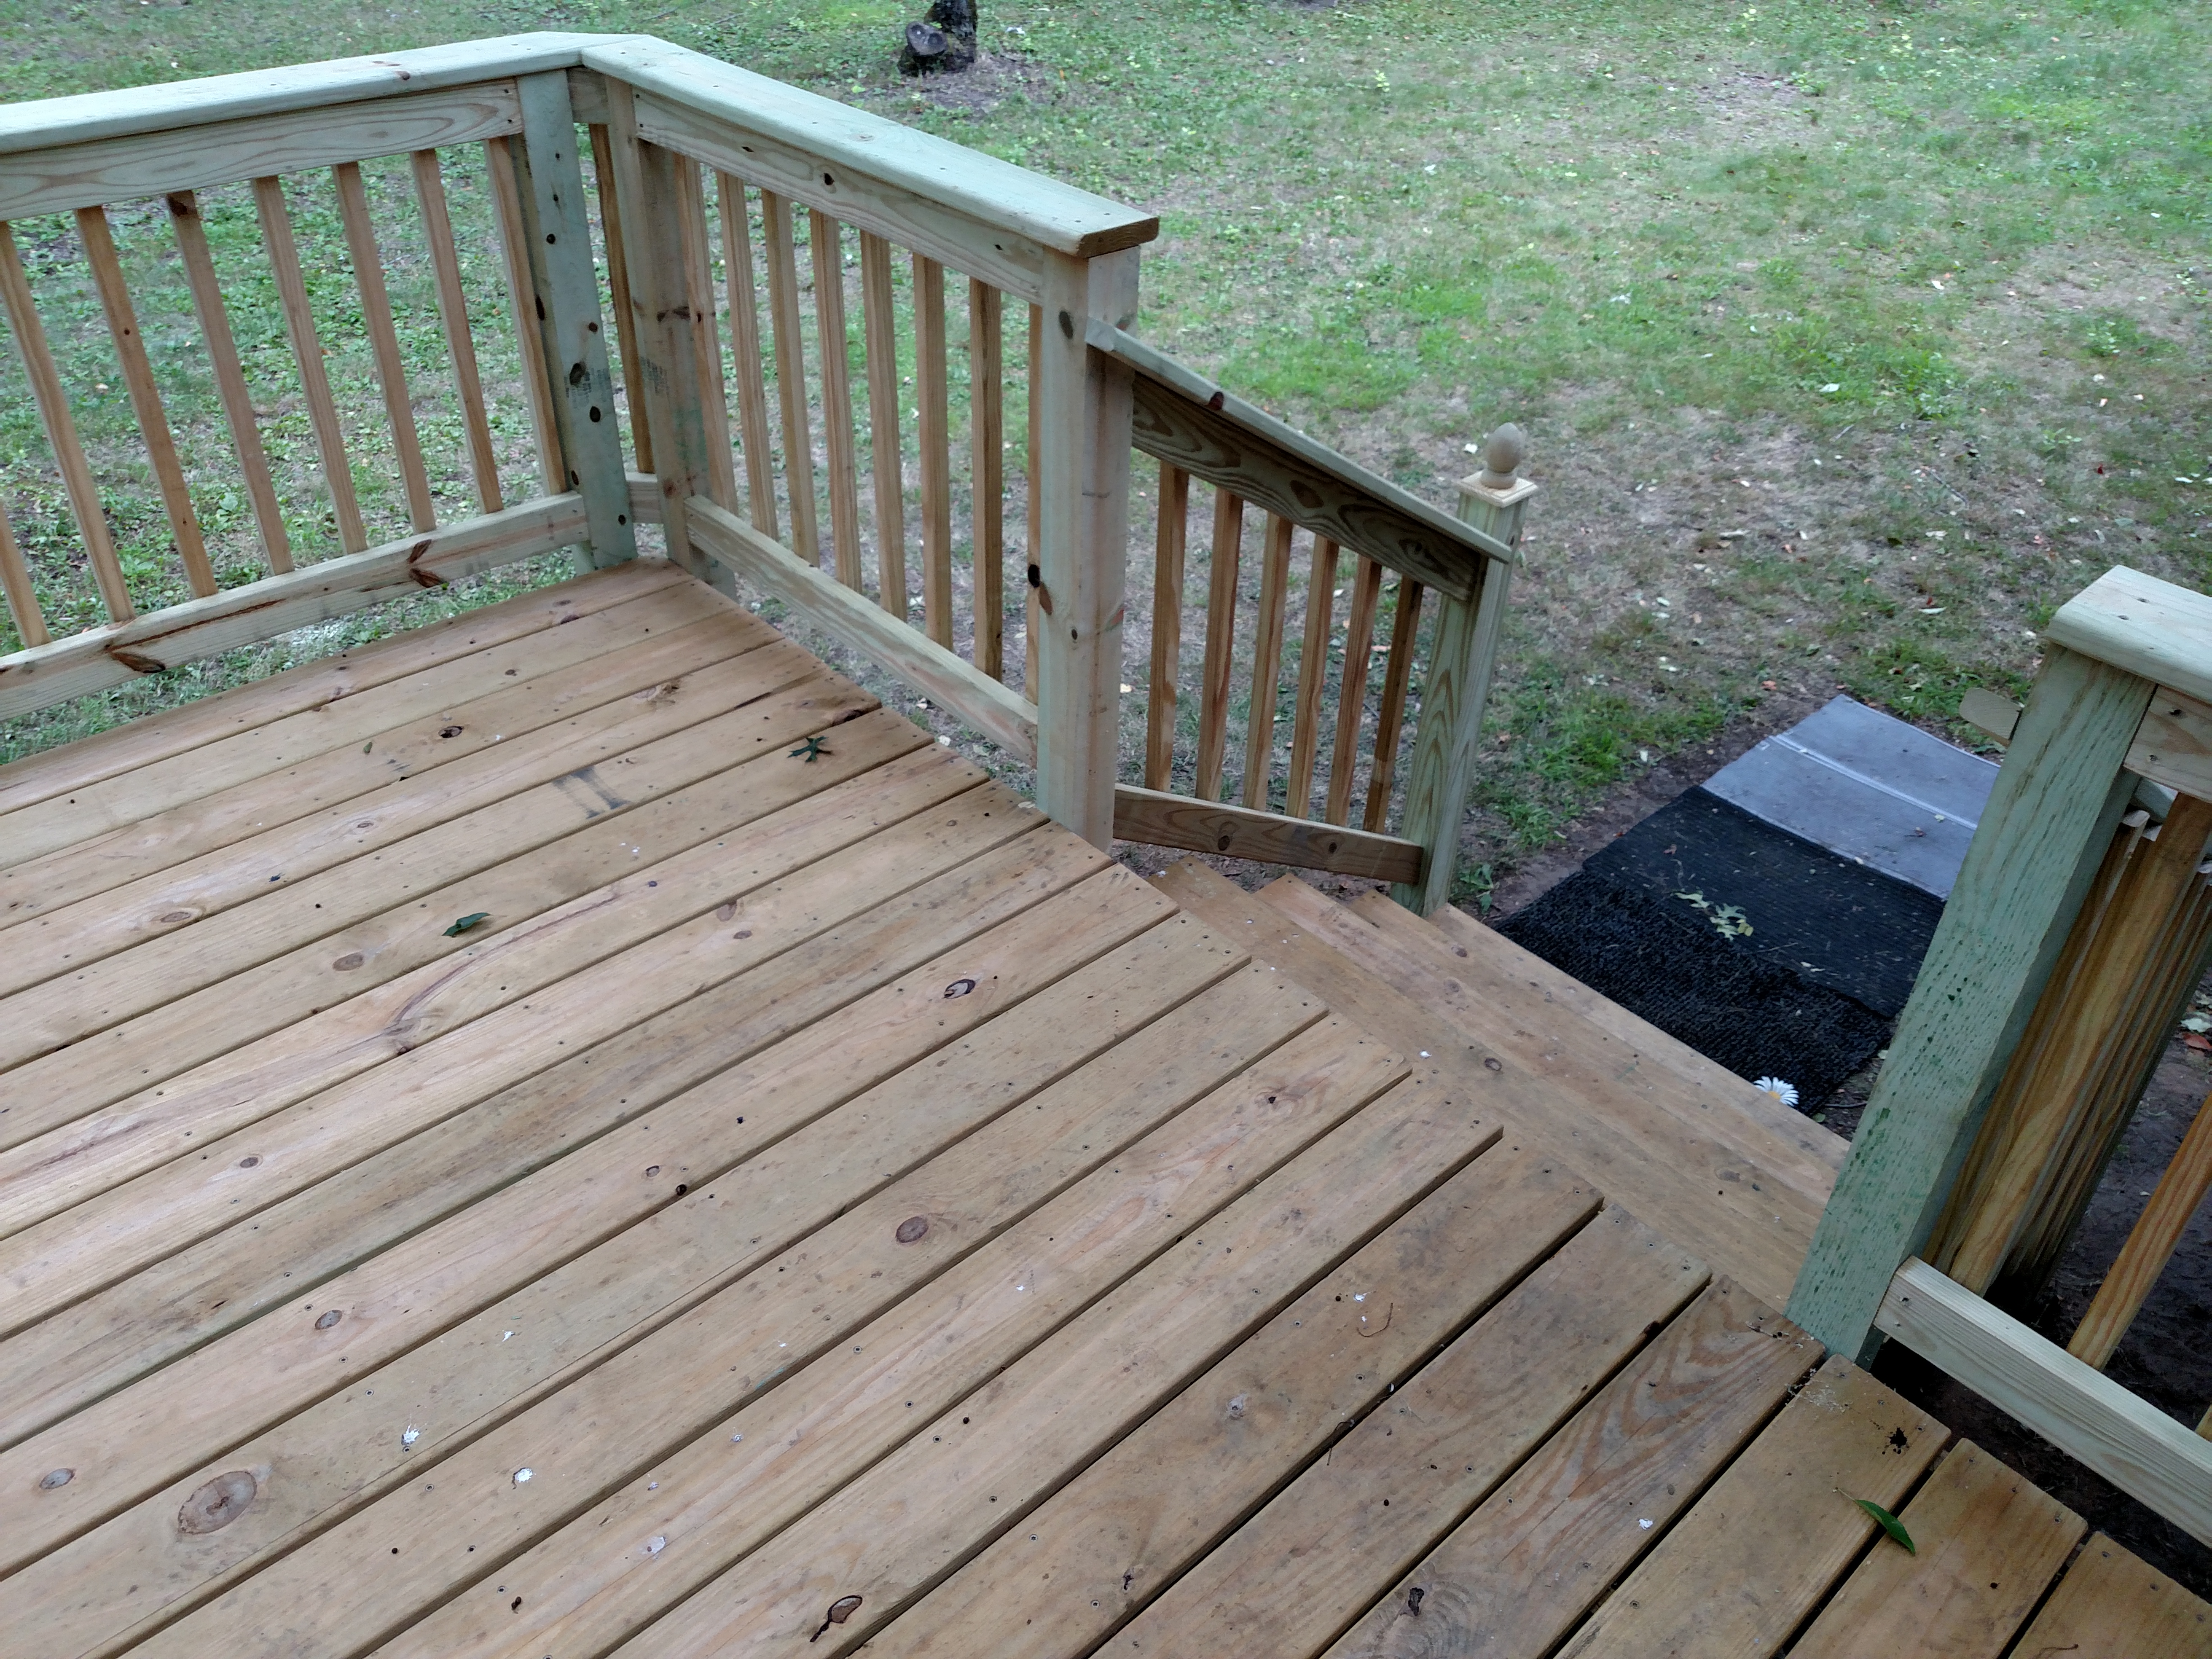
I had to dig to anchor the lower deck posts to the stair risers. I’m glad I buried the bottom of the risers rather than cut them down, otherwise I wouldn’t be able to secure the posts properly. This involved more root trimming with my sawzall for the left post, which was slow, sweaty work.
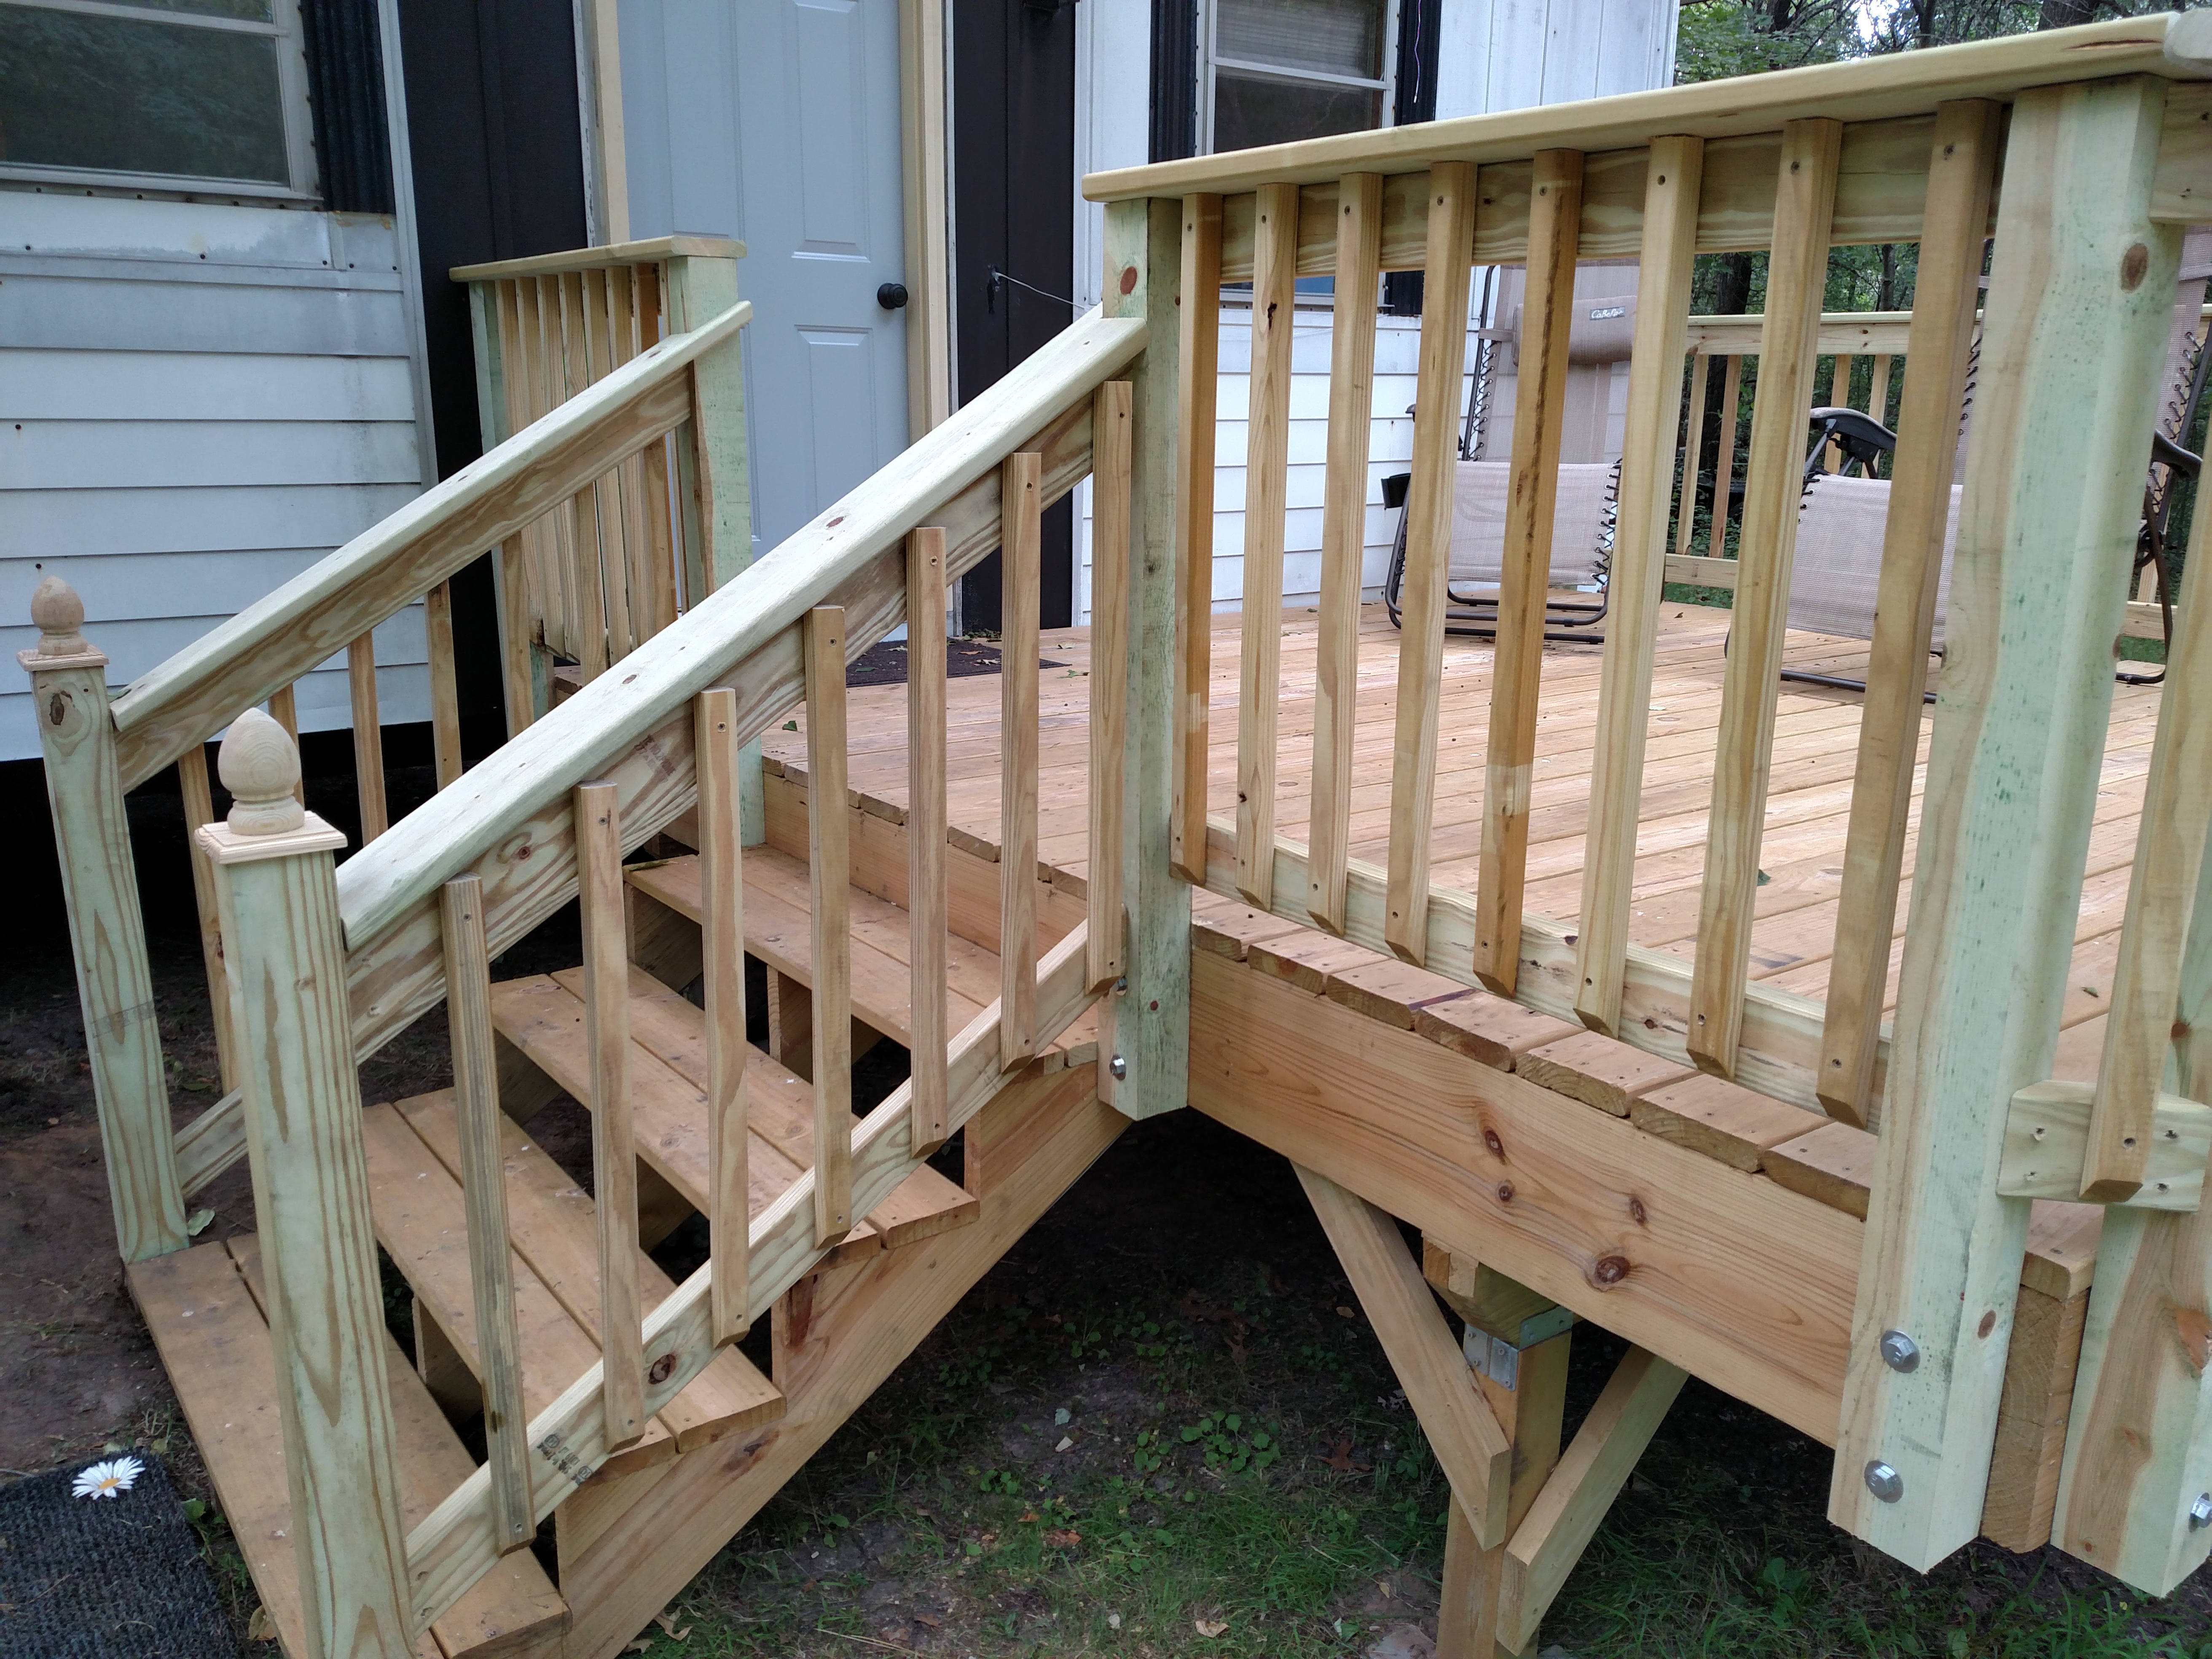
Since these were the only posts that would have their top exposed, I finished them off with treated caps and tops from Menards. Not wanting to calculate the geometry to get the stair rails at the correct angle, I chose to eyeball it instead. I lined up and marked a 2×4 where I wanted the handrail to run and used that as a template for cutting the other three boards.
The rail cap was measured the same way. I adjusted my cordless saw to match the angle I’d need to cut, and used my Multi Max to finish it off. By notching it out this way, I ended up with a nice, clean looking transition at the top of the handrail where it meets the deck post.
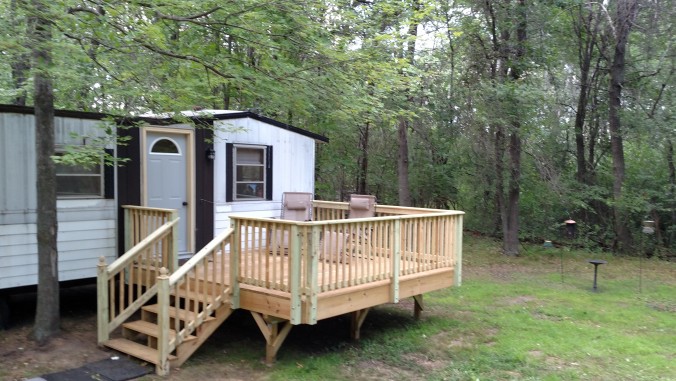
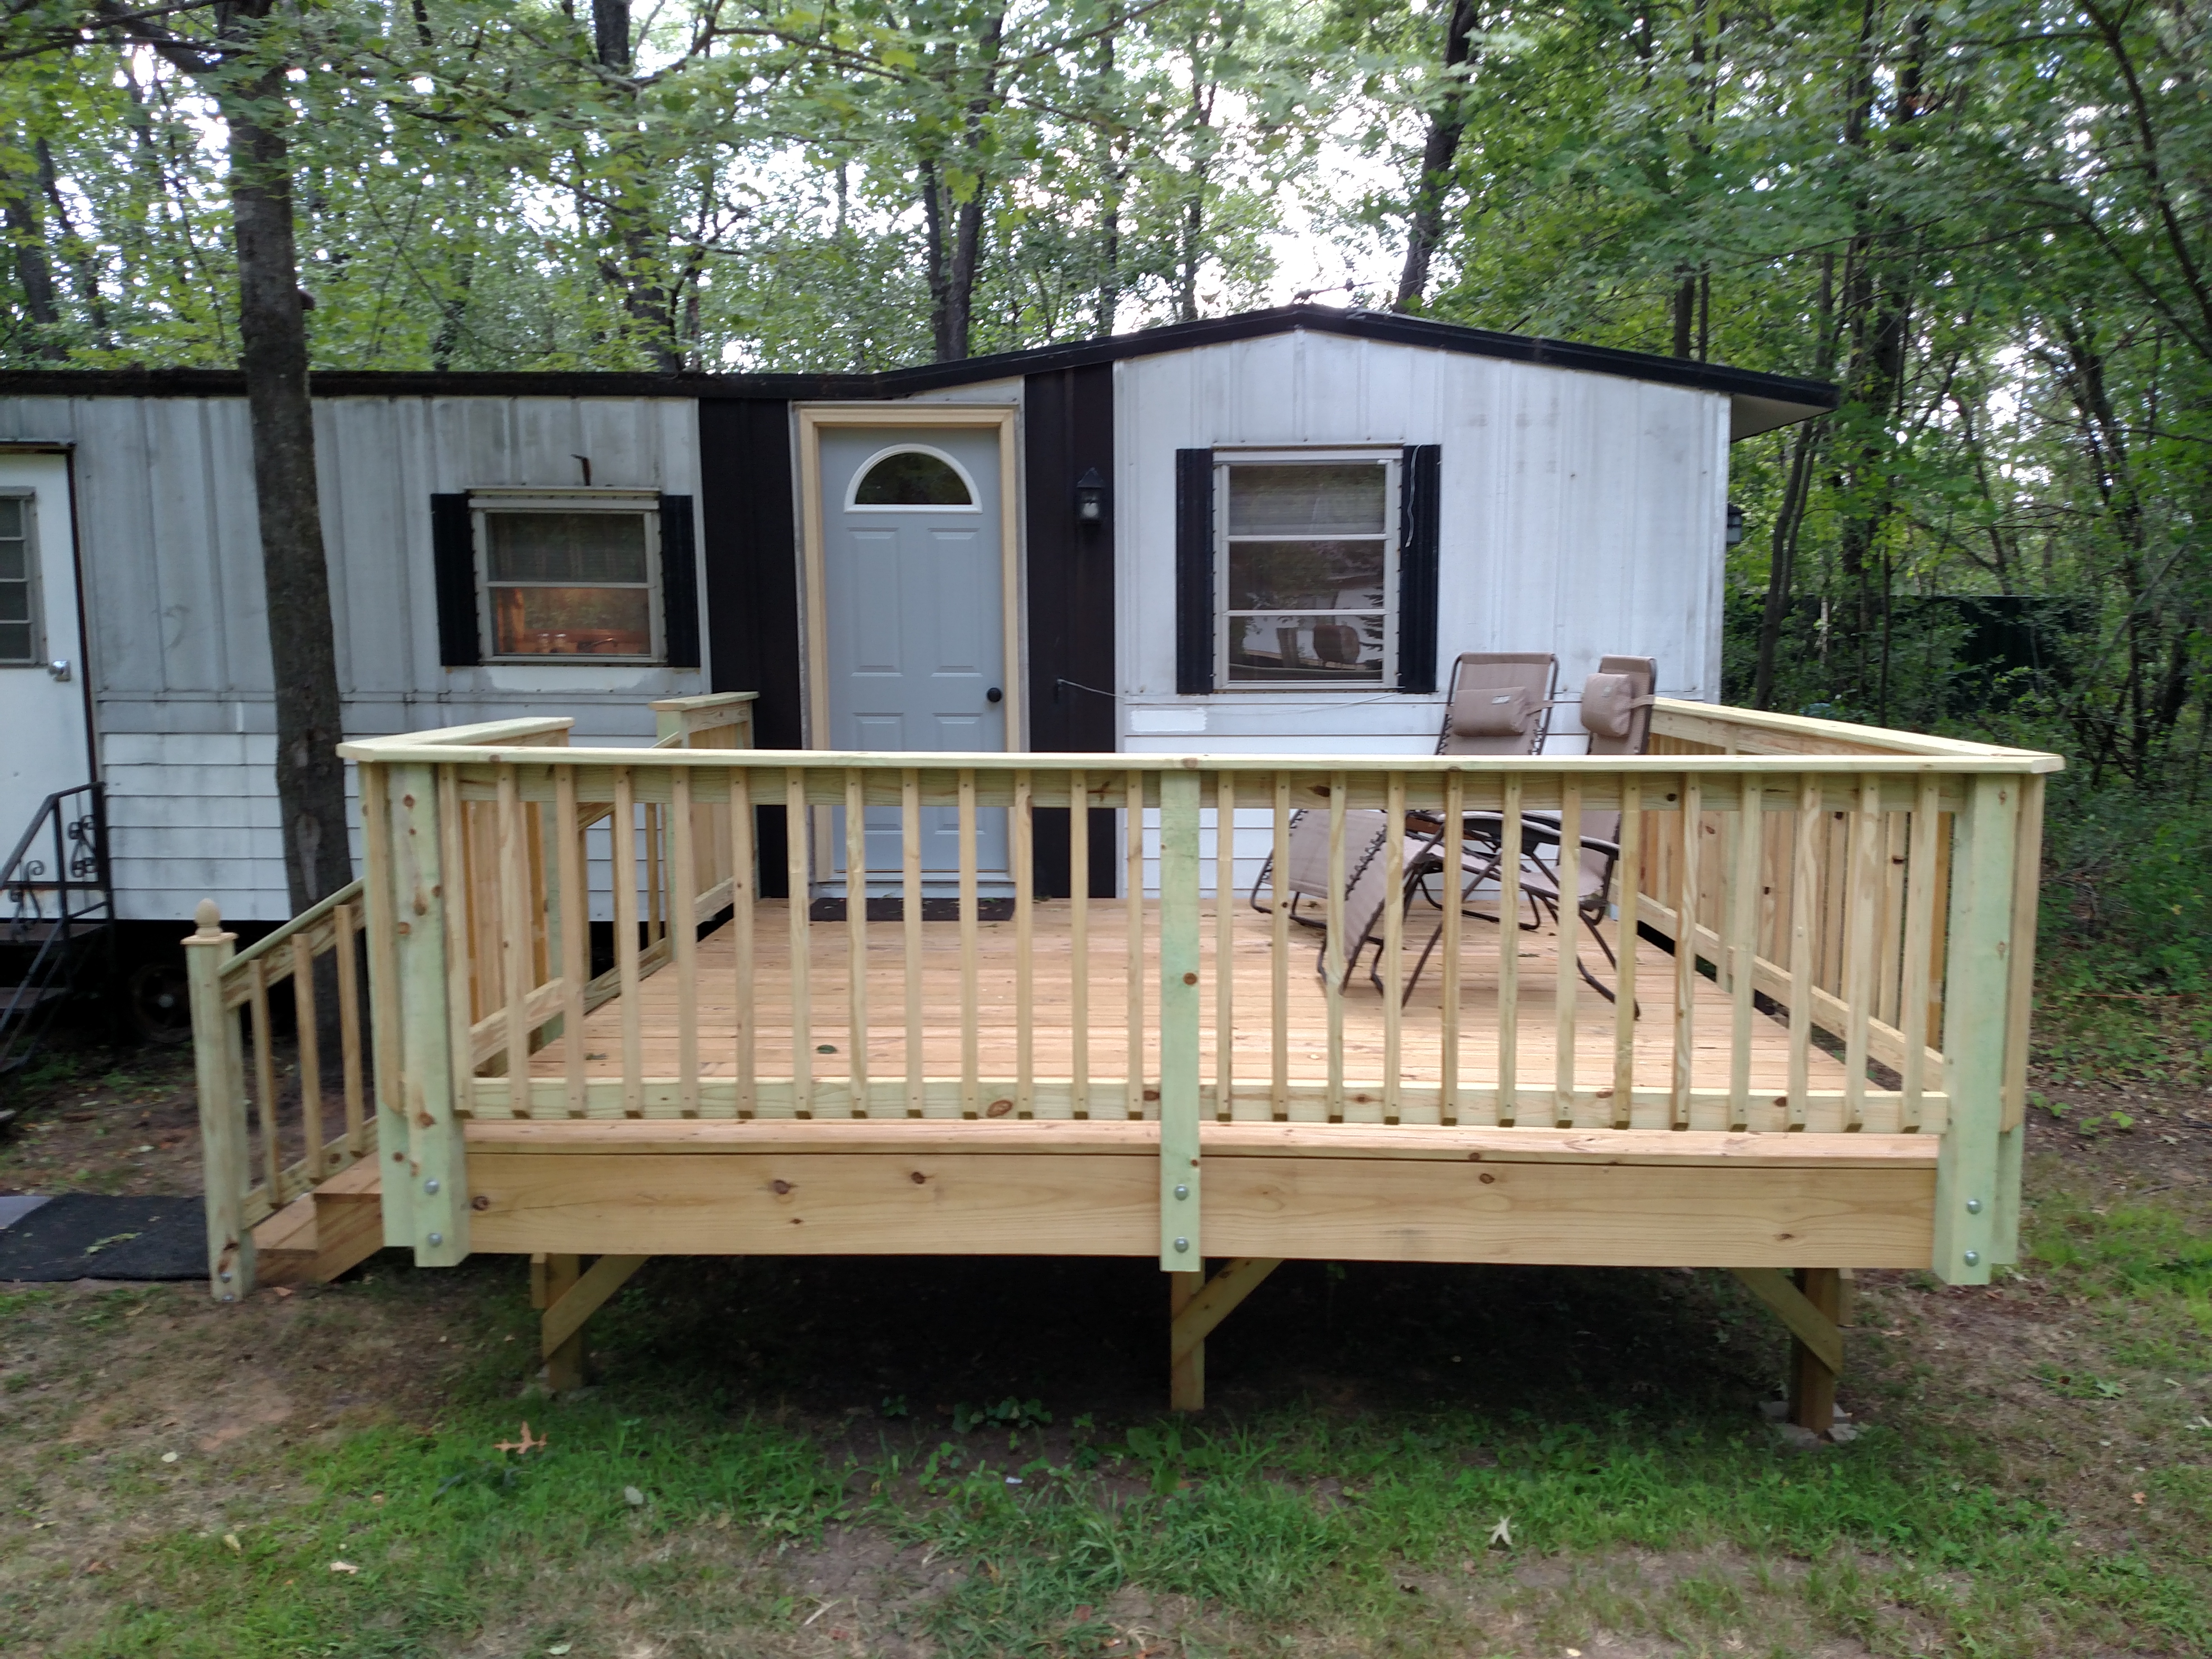
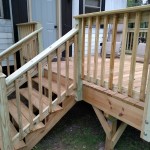
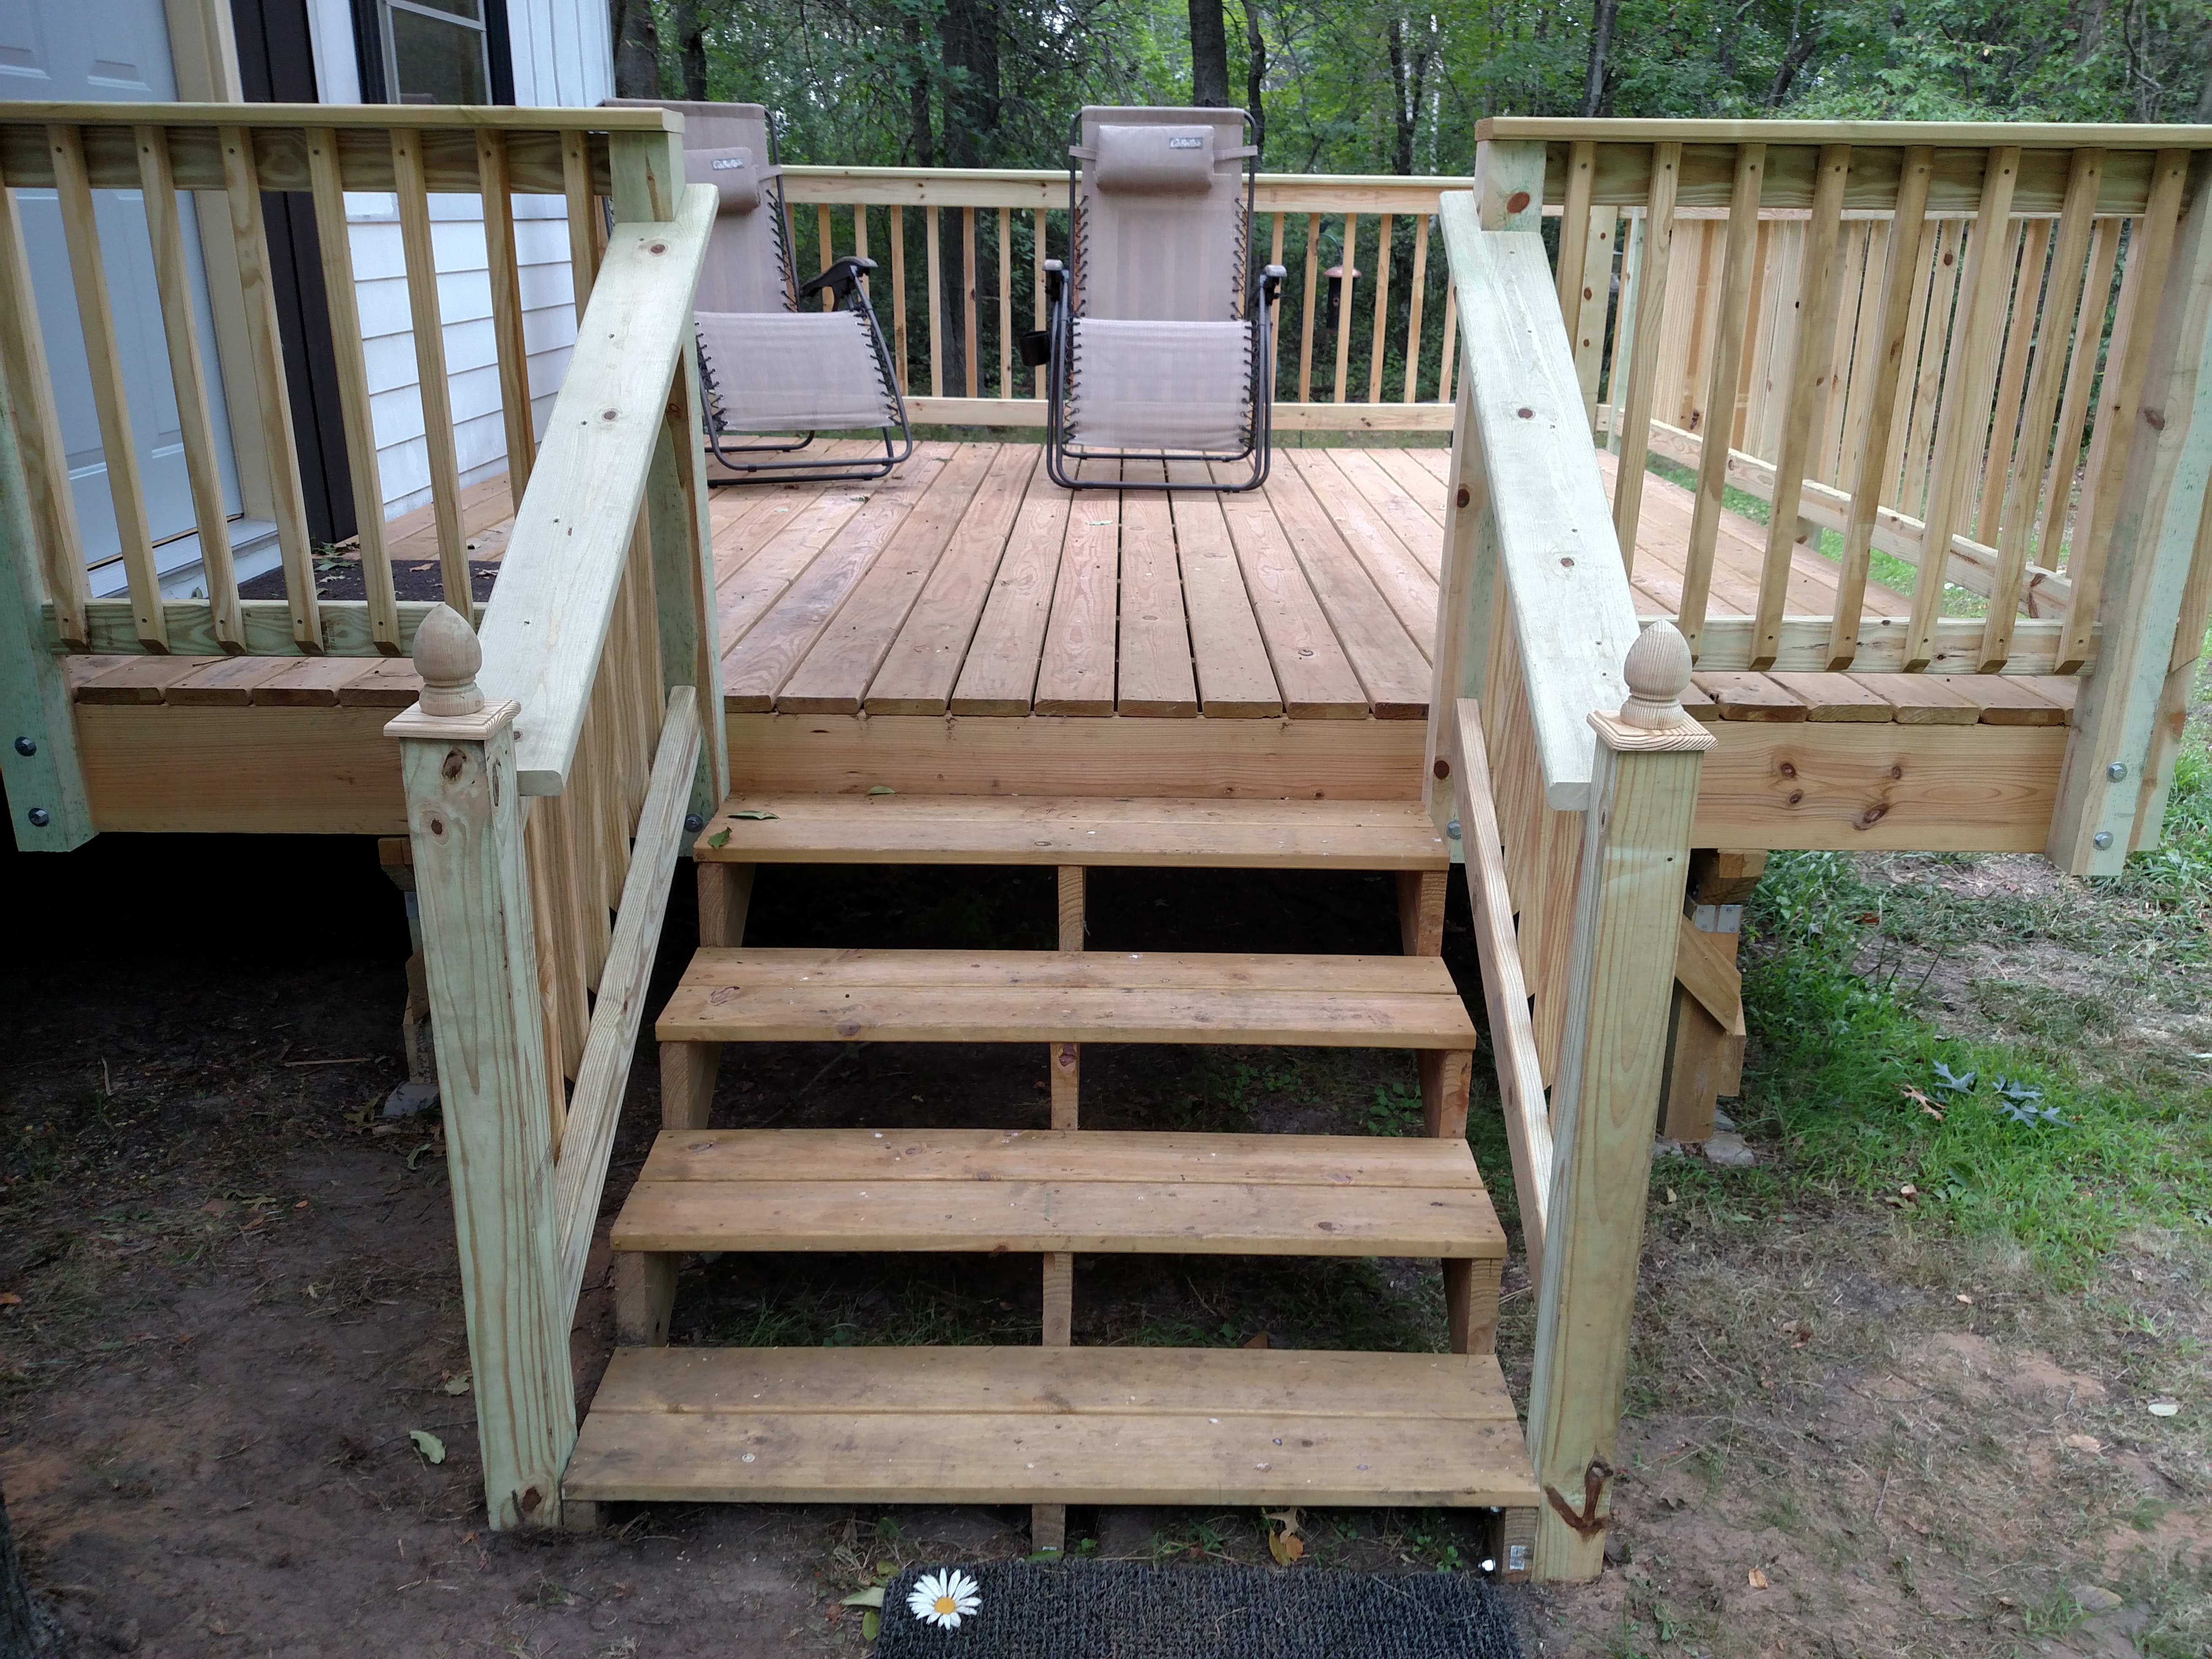
After installing the final spindles on the stair rails, the deck construction was complete. I gave it a final inspection and tested the rails for strength. I’m quite happy with how it turned out. It really cleans up this part of the yard, and is going to be a fun place to hang out.
-
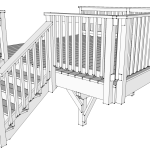
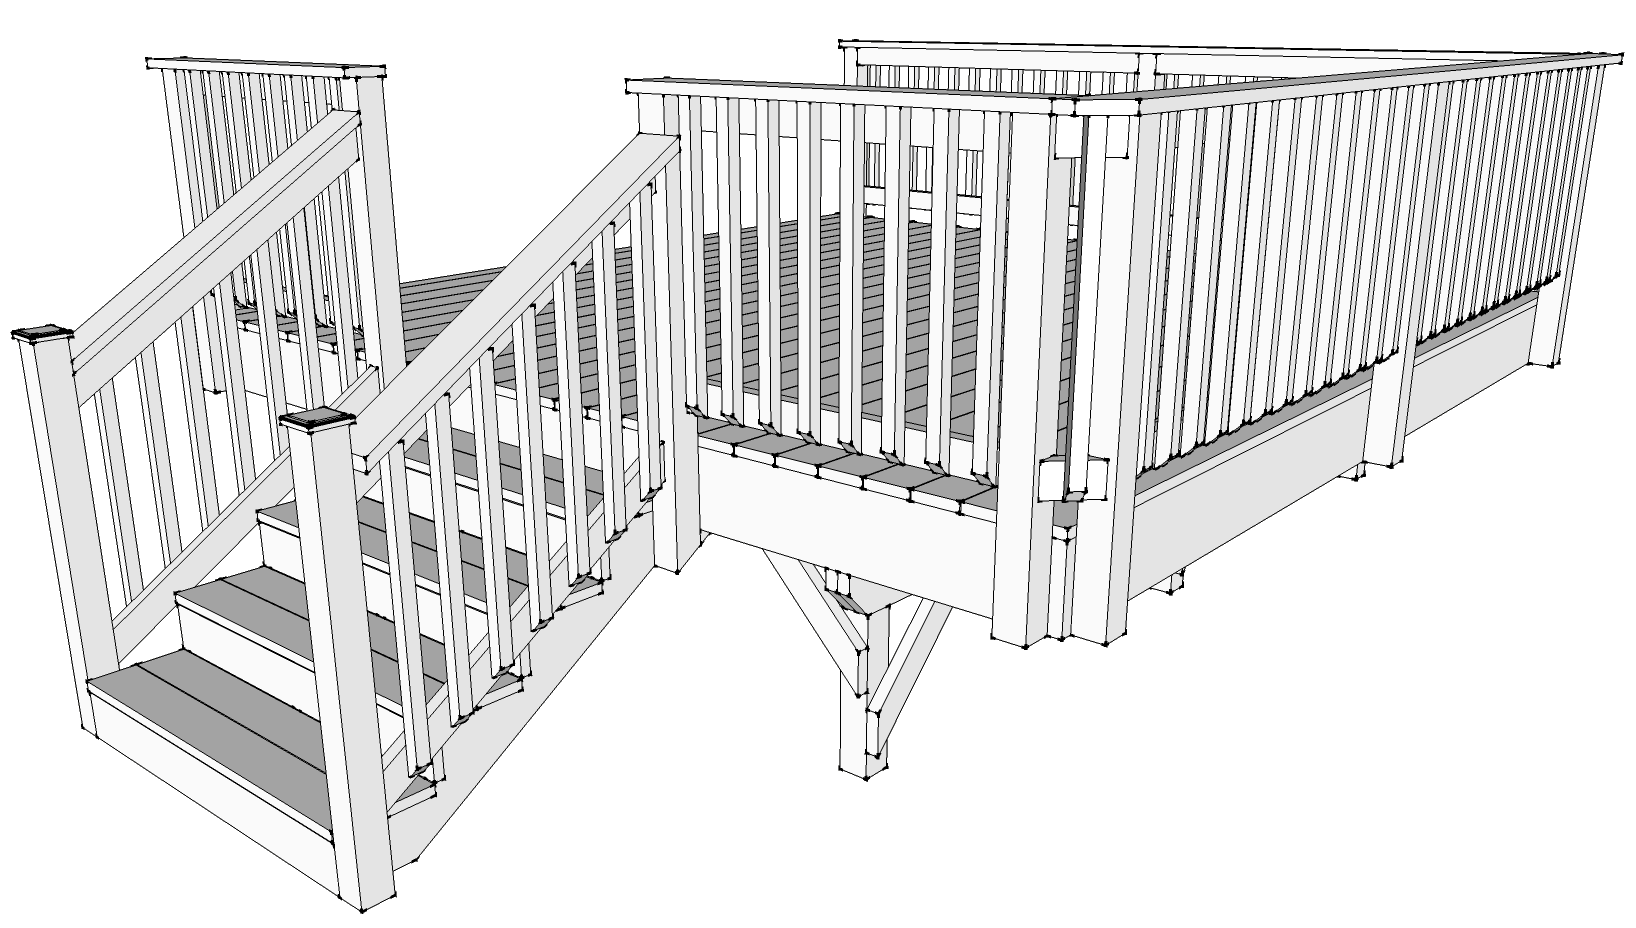
- The complete SketchUp model with stair rails. I still have to face the steps, but there’s no rush for that.
-
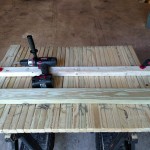
- I didn’t bother with my drill press or miter saw after all. I cut, drilled, and started the screws in bulk instead.
-
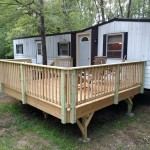
- To get a uniform look and make it easy to install, the spindles are spaced so a 2×4 is the only tool you need to line them up.

-
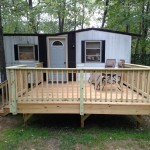
- I still checked for plumb on every third spindle or so and made sure any of them that were slightly warped were placed toward the end.
-
- Cutting the caps was an interesting challenge, but I was aided again by my Multi Max. Made for a tight, clean fit.
-

- The post caps were a last-minute impulse buy at Menards. They were the cheapest ones there, but I like how they finish things off.
-
- The corners are sturdy enough for me to sit on the rail caps, and I love how the 45 degree patch sections turned out.
-
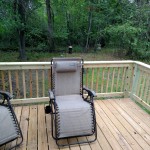
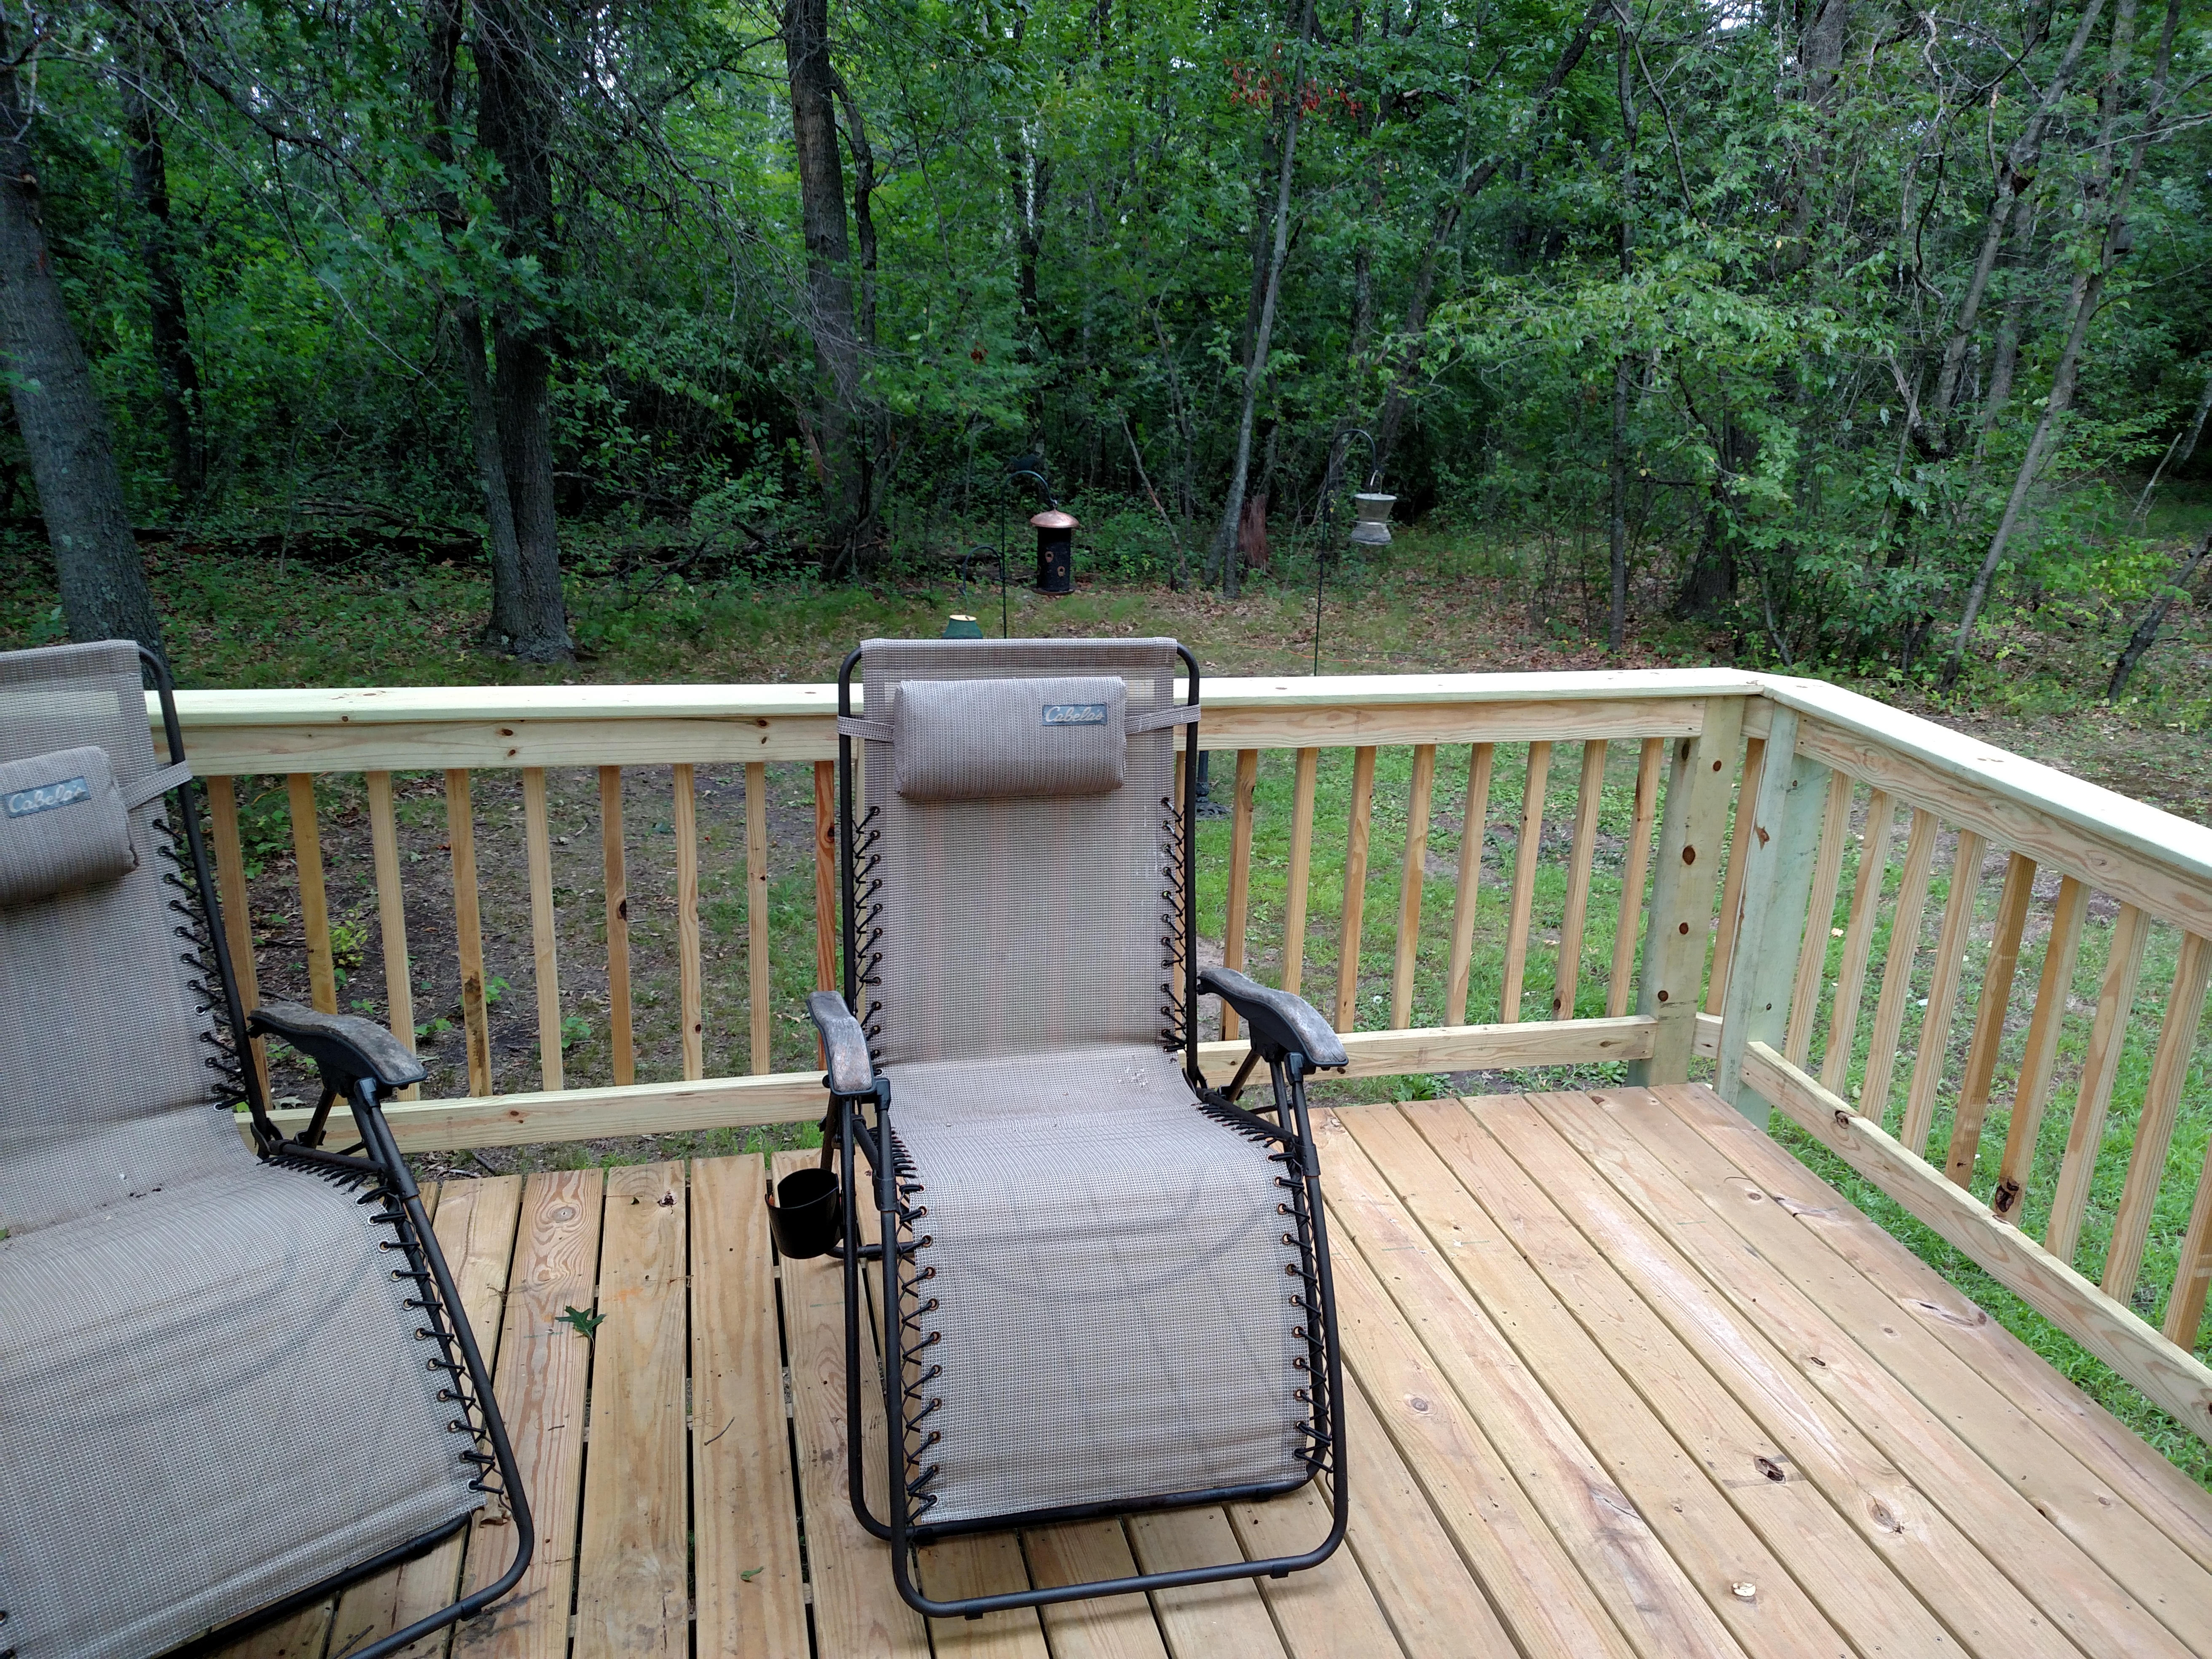
- The view of the new spot for the bird feeders. There’s plenty of room for more chairs and a table out here, too.

0 Comments
2 Pingbacks